
A couple of weeks ago we visited Fantastic Charly’s Bakery, where you find the most amazing cakes in Cape Town… but not only that, the decor is divine!!! Hood #3 was so inspired by their teacup chandeliers that we headed home to make her own.
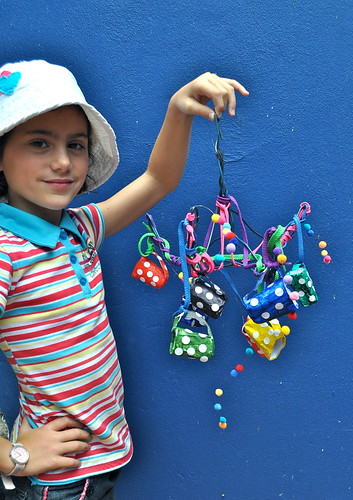
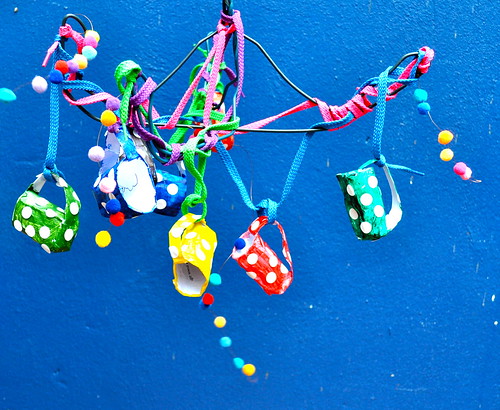
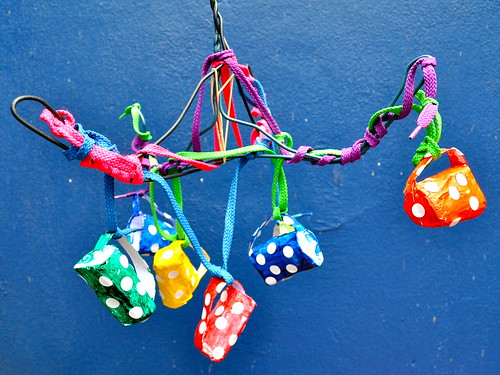
So this is what you are aiming for:
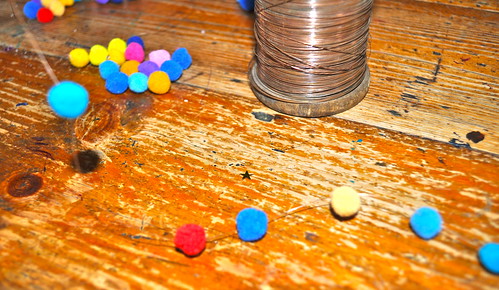
Let’s Meet The Players:
- Scrap paper.
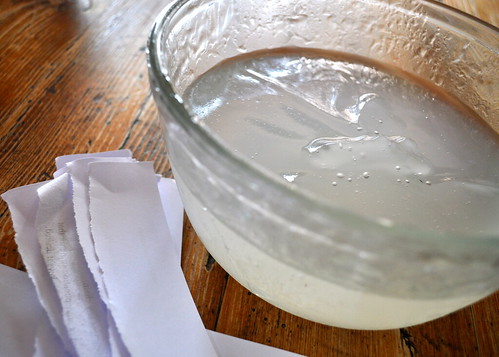
- Wall paper paste.
- Paints or whatever you want to decorate your cups with.
- Two coat hangers
- Funky shoelaces.
- An elastic band.
- Mini Pompoms.
- Thin wire.
Let’s Play the Game:
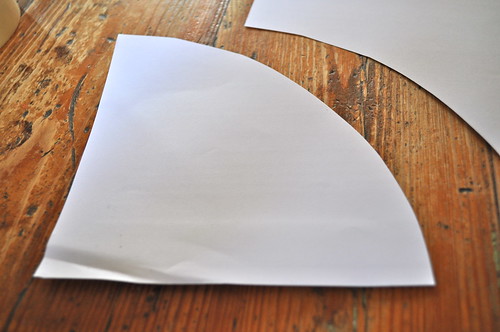
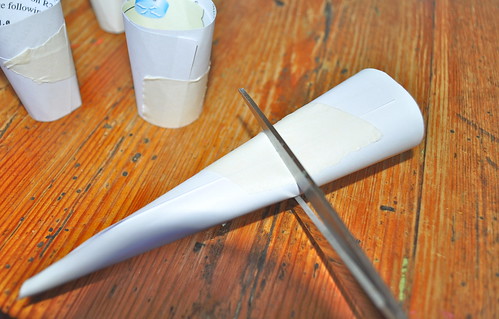
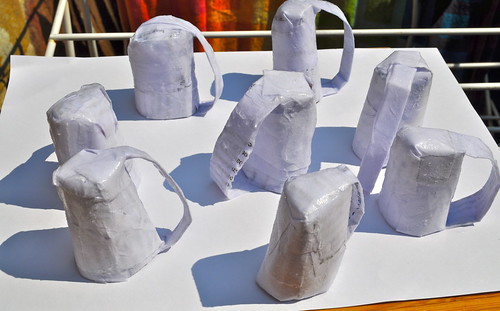
- She began by making tiny cups. She rolled a cone from a sheet of scrap paper.
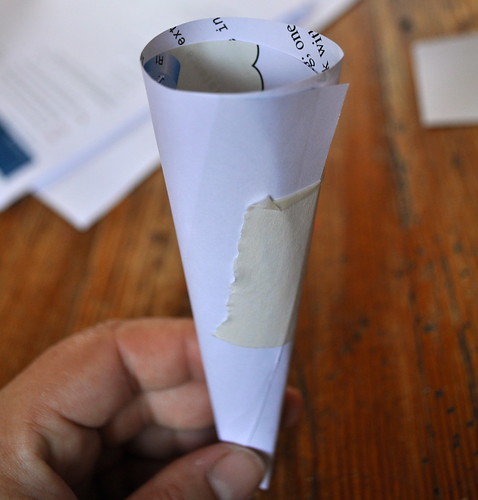
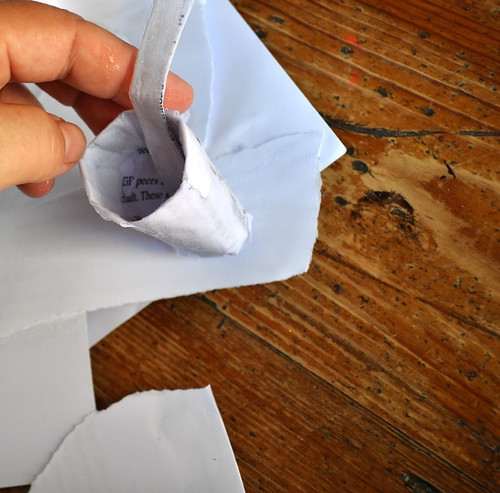
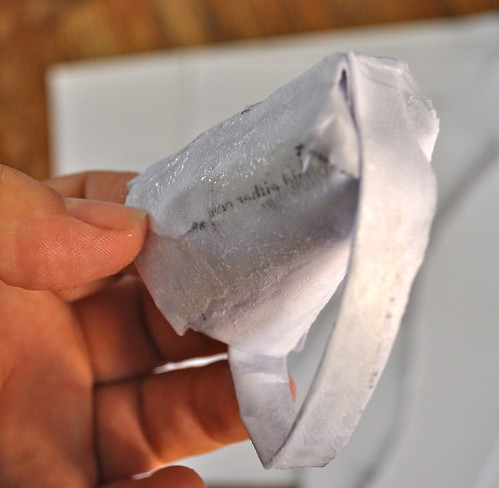
Then she snipped the top and bottom off to make them straight. - She paper mache’d the cups, to make sure each cup had a bottom and a smooth surface.
- To add the handle she folded a thin strip of paper a couple of times and then added some more layers of paper mache.
- She left the finished cups to dry for a couple of days.
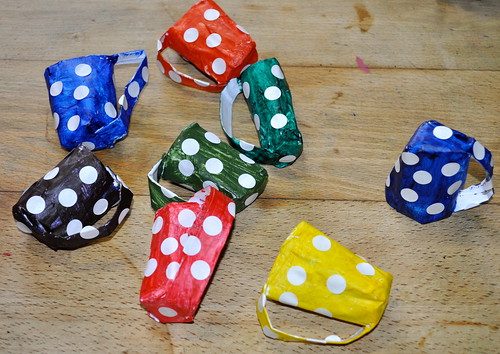
- Remember they are made with scrap paper so you can really decorate them with anything. She use acrylic paints and little dot stickers.
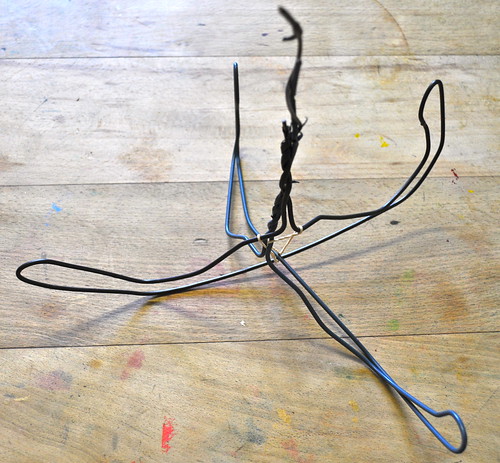
- Then she took two coat hangers to make a chandelier frame. She used an elastic band to hold it together initially and cut it off when she was done.
- She had a pile of really bright shoelaces lying around waiting for a craft. She twisted and twirled them around the frame, tying the cups to them as she went.
- It needed a bit more color!!! So she threaded a some mini pom poms onto very thin wire and hung the pom poms onto the chandelier as well.
There you go: Se7en + 1 tea cups!!!


And the Se7en +1th Step…
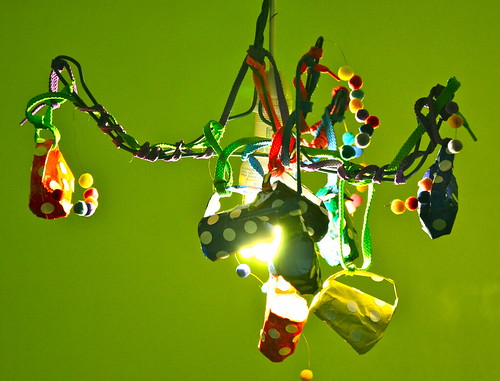
And she was done… Here it is taped to her light, but I think we will use it as a mobile for a while until I can think of a better way to attach it than a piece of tape!!!
If you are looking for a collection of tea party crafts then feel free to follow the links. Have a fun day!!!
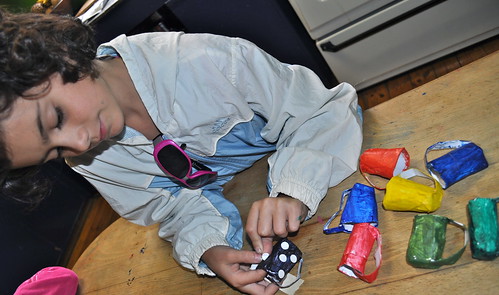
Ahh! These are brilliant. I loved the photo of the tea cup chandelier in your previous post. Well done Hood 3. These are truly inspirational. The dots are perfect. I like the way she has her sun shades at the ready. Just in case the colours get too much. Must show my girls. I’m sure they will want to make some. (Me too!!!)
Fantastic! It makes me want to have a tea party!
That is too awesome for words. So creative!
Absolutely adorable (girl AND chandelier!)!!
Very cute and so creative!
love the cups, so Alice in Wonderlandish!
HI Cheryl!!! Oh those shades!!! My three girls love them they swap from girl to girl to girl and around again!!! Glad you liked the chandelier and have a fun weekend!!!
Thanks Rebecca!!! So glad to inspire you!!!
Well Hello Cassi!!! Would you look who just stopped by our site!!! Hope you have a brilliant weekend!!!
Hay Julie K, Glad you like the chandelier, hope you guys have a fun weekend!!!
Glad you liked them both Karen M!!! Have a fun weekend!!!
Hay Melanie They are pretty fun!!! Thanks for stopping by!!!
Too too cute!! I want one!
So cute! I always love to see how ordinary materials can get a touch of extravaganza when comined in a good way!
Hay Kimberly, Glad you liked it!!! I should send her into production!!! And we could make a living from tea-cup chandeliers!!! Hope you are having a fun weekend!!!
Lilla a, How Fabulous to have you visit!!! It did end up as quite an extravaganza didn’t it!!! Thanks so much for stopping by I am thrilled!!! Hope you are having a fun weekend!!!
wow, beyond adorable! I moved your project to the top of this weeks party so that it would get more attention, and thanks so very much for sharing!
Hay Sara, You are too kind for moving us up!!! Sorry it took so long to post, we were waiting for the paper mache to dry!!! Lots of lovely links this week, thanks for another great party!!! Hope you have a great week!!!
That is so cute!! I love it! I’d love to have you share this at my For the Kids Friday link party! Come join the fun!
http://sunscholars.blogspot.com/2011/03/for-kids-friday-5.html
Beautiful tutorial …. wonderful craft..
specially those cups looks real and beautiful.
i am going to do some of those, cups with another idea …
thanks dear..
Thank yo Asha, Glad you liked it – hope you have a fun project!!!
Beeeeautiful!!
Oh Jeanine, So glad you enjoy our crafts!!! Thanks for stopping by!!!