
These images of distant lands keep arriving unannounced on our fridge. Hood 1 is clearly inspired by his virtual journey that passes through the Himalayas for school this year. And I thought we could extend this to suit everyone for our Tuesday Art Task.
However, the other hoods all really wanted to make magnifying glasses – so we added these into the project as well.
Meet the Players:
- 2 sheets of paper per child
- A sharp pencil
- Something bright for coloring – we used watercolor crayons
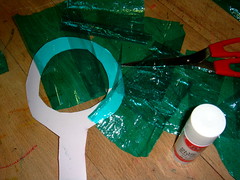
- Some card cut into the shape of a magnifying glass
- Some cellophane
- Scissors
Let’s Play the Game:
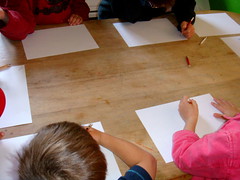
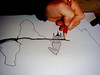
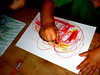
Step 1: We started with some blank paper and pencils… it is always a good place to start.
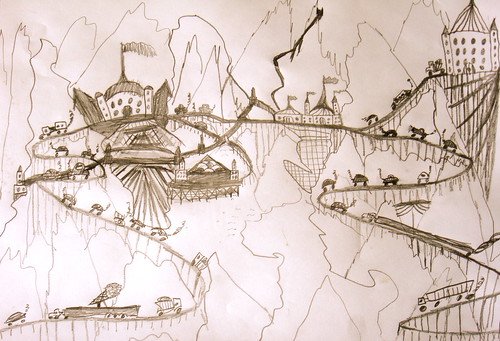
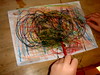
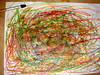
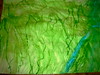
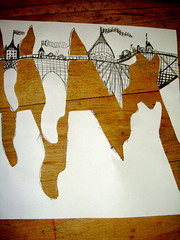
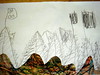
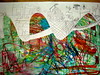
Step 2: And drew a zigzag across the paper… and only drew our distant lands above the line. The only instructions were make them tiny and busy.
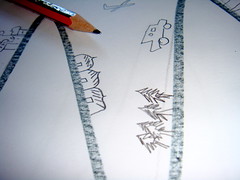
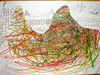
This was open ended and we returned to pencil in more details all afternoon as ideas sprang to mind.
Then we left these aside, in case even more ideas came to mind and they did!
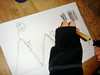
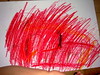
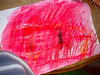
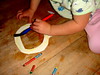
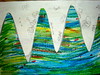
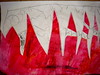
Step 3: Then we took watercolor crayons – Oh I love these, they are so crisp and bright without the lasting oiliness of pastels. And we colored a fresh piece of paper with mountainous colors. Interesting results (!) there was a clear sunset in there!

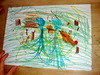
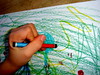
And then painted with water on top.
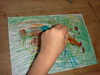

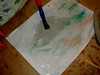
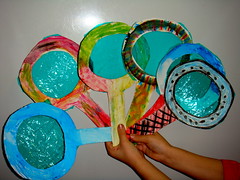
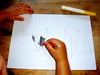
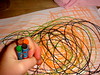
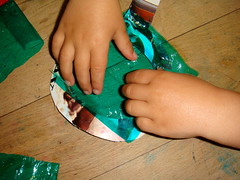
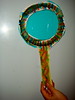
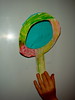
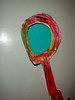
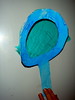
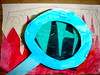
Step 4: While the paintings were drying, we cut out some magnifying glasses from cardboard and watercolor crayoned them in bright colors.

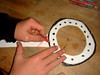


And painted them as well.
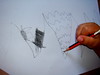
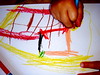
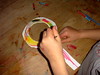
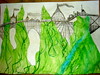
Step 5: While the magnifying glasses were drying we went back to the pencil drawings. Cut them out along the zig-zag line and ruthlessly discarded all that was below the line.

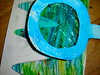
Here you can include bridges and so on, it is really easy just snip through the one side of the bridge and cut the rest out. When you are done snipping, glue the intricate pencil drawing onto your painting. And you have a distant landscape balanced along cliff edges.
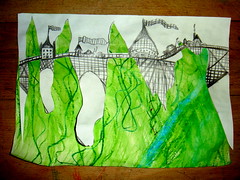
And here are a few more examples.
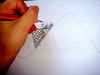
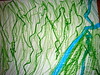
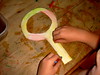
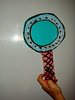
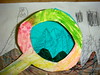
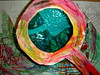
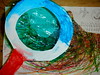
Step 6: Once the magnifying glasses were dry we stuck celophane to them for brilliant effect!
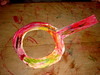
And here are a bunch of finished magnifying glasses.
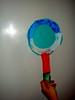
Step 7: Finally we viewed our distant lands through magnifying glass – aaahhh the satisfaction of an artwork that does something!

 x
x
That’s It – Have Fun Arting!
Hi.
What are these water colour crayons and where do you get them?
I’ve never seen or heard of them before.
Hi there, ours are Faber Castell, so where ever you can find a stockist of their art products you should find these… they look like a pack of 12 crayons – but they say watercolor crayons on the side – brilliant, bright and they smudge beautifully with paints – really nice! Locally I have found them at the Paper Weight and the PNA, but not consistently – when I see them I buy them! Hope you find some.