
My kids have been asking to make kaleidoscopes for years – and I mean years! As the number of kids grows so the project gets put further on hold… I have images of little glass mirrors and bits of glass slicing off fingers and no… I just can’t face it…
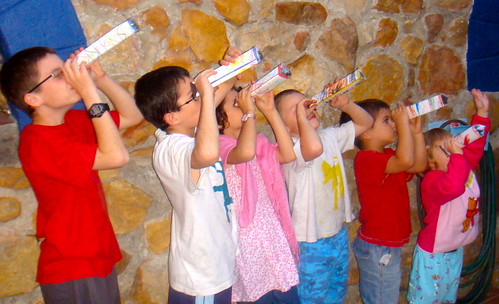
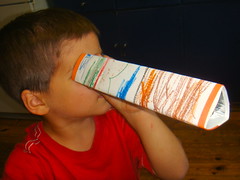
But we bought a roll of tinfoil and I thought: “hmmmm, let’s give it a try” They turned out remarkably well – they actually worked!!! The little guys needed help with the finishing touches but they would have been just as happy at the halfway mark with something to peer through.
This is what you are aiming for:
Let’s Meet The Players:
- paper
- card
- crayons
- glue stick
- model glue
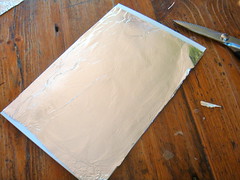
- tinfoil
- plastic bags
- glitter and sequins
- tape
Let’s Play The Game:
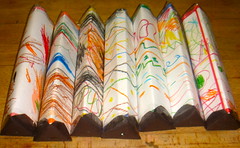
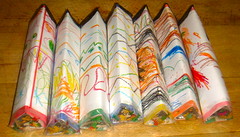
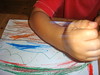
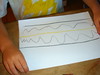
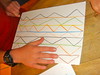
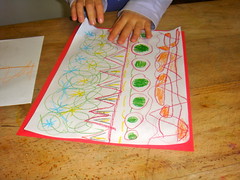
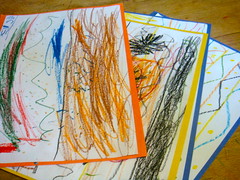
Step 1: We started with paper and crayons and decorated away…

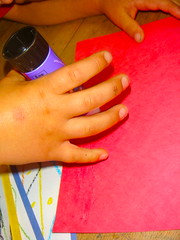
Step 2: We stuck our decorated paper onto construction paper to make them a bit sturdier.
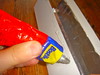
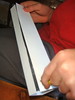
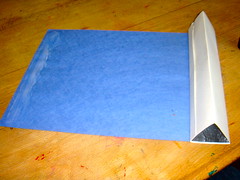
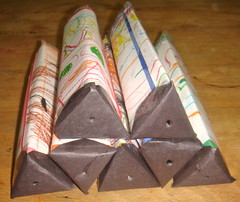
Step 3: We took some stiff card and stuck some foil onto it… shiny side facing out.
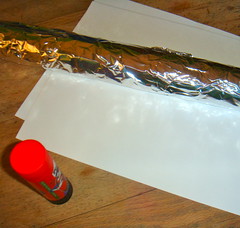
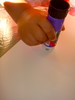

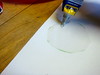
Step 4: We made three folds and four sections in our foil covered card. We put model glue along the one side and folded them into “tri-angular tubes.” We glued them shut pegged them in place and waited for them to dry.

![]()
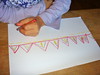
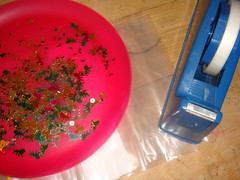
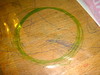
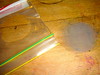
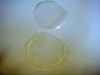
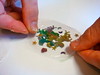
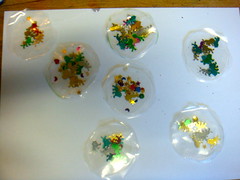
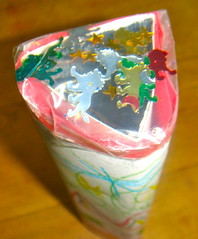
Step 5: While the glue was drying we made little circles out of plastic bags. We made a strip of glue around the one circle and dropped glitter and sequins into the center of the circle. Then we dropped the other plastic circle on top and left them to dry too. Now we had little pockets filled with glitter and sequins.
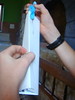
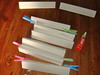
Step 5: We rolled our decorated paper around our “triangular tubes” and then glued them down.
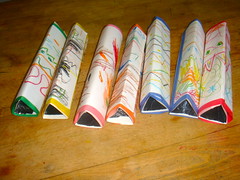
For some of us the project could definitely have ended there!
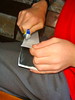
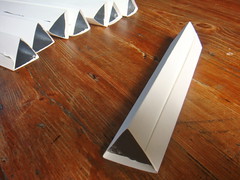
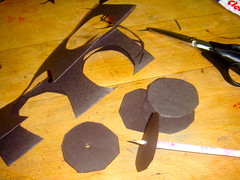
Step 6: But we persevered! We cut out black circles from card and made a hole with a pencil through the center. Then folded them over the one end and taped them on. (We had lost patience with waiting for glue to dry – tape to the rescue!).

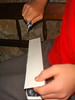
Step 7: Finally we took the glitter and sequin “pockets” and taped them onto the other end of the tube…

And we were done!
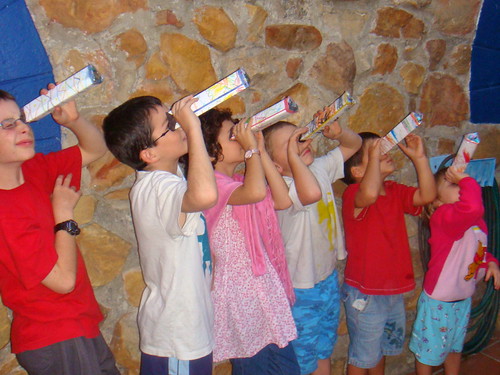

Niiiice!!!
We haven’t for the same reason… all of them that I’ve seen in our science books are "metal and glass and little mirrors" and I’m not quite ready for that one.
But this is perfect!
We must try it out!
ps- We’ll be over at ten in the morning to play. 🙂
Hi S, So now we’re the zoo!!! You have so got the right idea! 10 is good for us too. Back to kaleidoscopes… these worked far better than an I expected but not as perfectly as the fancy schmancy glass ones! My kids were totally satisfied with their achievements and so was I!!!
love it! we just took apart some of these and now you’ve shown us how to make them! thanks so very much for sharing on Craft Schooling Sunday!
Hay Sara… We love Craft Schooling Sunday, really wouldn’t want to miss it!!! Hope you have a great week!!!
Cute idea and I will use it, but I needed some printable instructions!
Hi Sondra, Glad you liked the project… hope it goes well, despite not having printable instructions. Have a great day!!!