
Hood #3 has been dying to sew forever and finally the time has come. Just the thought of the gidgets and gadgets that are associated with the sewing machine sends her reeling with curiosity and excitement!

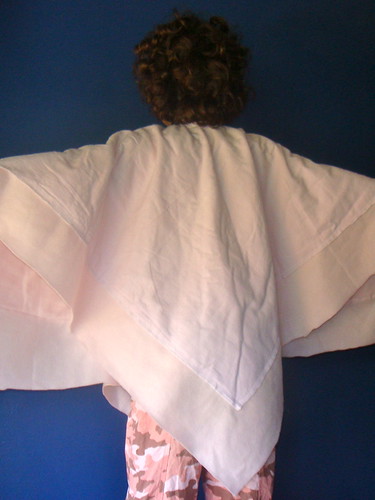
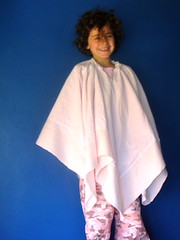
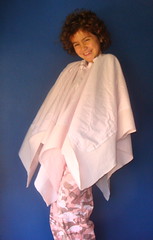
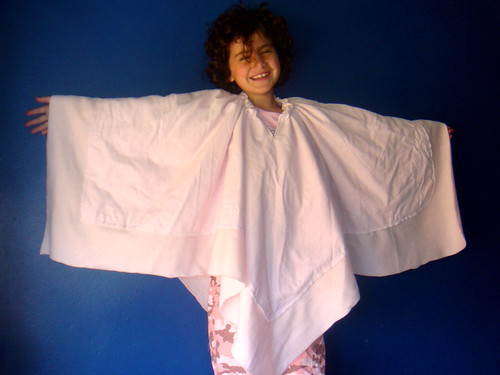
So I decided to go with something terribly easy, especially since all she wanted to do was sew clothes!!! This is what you are aiming for:
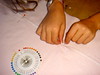
Let’s Meet The Players:
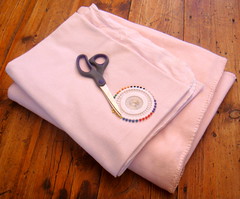
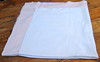
We started out with two baby blankets, one fleece and one flannel. I know I would have used bright and funky, but we are talking serious girl child here and pinkity pink it is!!!
Let’s Play The Game:

Step 1: We folded the rectangular fabric over to trim them into a square shape.


Step 2: Then we placed the flannel fabric onto the fleece blanket, right sides together, and measured a margin of the fleece blanket so that we could trim it later and make tassles, if we wanted to.
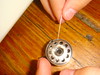
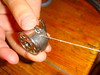


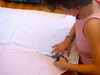
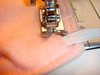
Step 3: We got the sewing machine ready. Obviously leave out this step if you are sewing by hand. But I think a huge part of the appeal of this project was driving the machine!!!

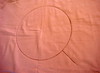
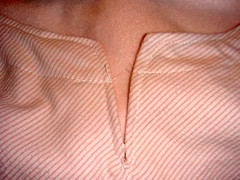
Step 4: We folded the fabric into quarters to find and mark the center. We opened up the fabric again and drew around a side-plate over the center and added a vertical slit to make the neck.


Step 5: We stitched along the line we had drawn and then trimmed the center circle out of the blankets, leaving about a cm edge beside our stitches. We cut little “v’s” around the circle and then turned the fabric so that the right sides of the fabric were facing outwards. A quick iron flat and then stitch around the neckline to neaten it up.
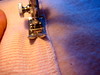
Step 6: Then we pinned the fabrics together around the bottom edges and zoomed away… long straight lines are great for learning to drive!!!


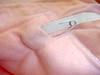


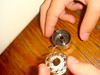
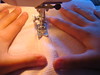
Step 7: Finally even though we only used a small saucer for the head our hole was much to big, so we stitched another row of stitching around the neck to make a casing. We needed a tiny snip at each end, popped some elastic onto a safety pin and threaded it through the casing. Stitched to and fro over the one end, pulled the elastic tighter and then stitched the other end closed. Now it is snug and just right!!!
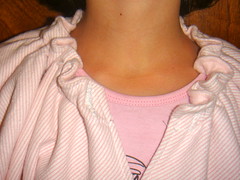
Done!!! One reversible poncho good to go… And she decided she wasn’t ready for tassels and would maybe do them later…
I am afraid the sewing bug has bitten… and we will have to have lots more sewing projects in the future!!!
Not to mention a little sister who would really, really like one of these as a gift!!! REALLY, REALLY!!!
Lovely! The broad, tone-on-tone border adds a definite touch of class. Your Hood is a natural!
Hi S-K, I will pass on the news to my hood that she is a natural!!! Thanks for the compliment!!! Have a fabulous weekend…