
We recently did a series on Art Appreciation and Art Inspirations.
And we thought it would be great to review the Usborne Complete Book of Art Ideas:
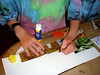
During our recent Spring Break we tried to do a heap of projects that we hadn’t tried before… every kidlet got to choose a project and then we just conquered them as the time arose. This sounded more daunting than it was – of course they chose mad sticking, snipping and painting projects and I was a little bit daunted (to say the least!) but because we were working through a list I could take a breathe and just do it – and it turned out to be lovely.
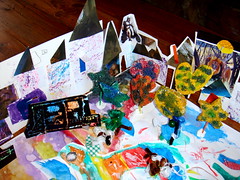
Now all of these projects work on their own but we put them together into a huge project at the end of the week.
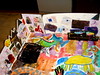
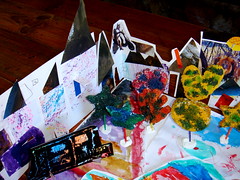
Three of the projects they chose were to do with city scapes and here they are:
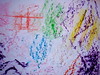
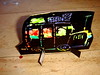
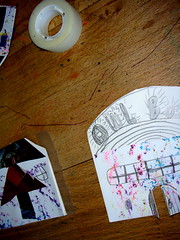
Project 1: We did wax resist rubbings on plain paper to give it some texture and chopped them into squares and got them ready to put them on the paper for a city-scapes. We could have inked over the crayons but they looked so lovely that we left them as they were.

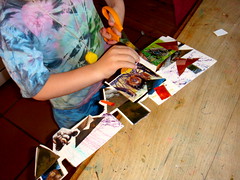
Project 2: We got some magazine pages and added heaps more shapes to our wax rubbing pile. We got cutting and sticking.
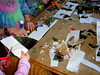
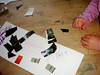
And up went the buildings with roofs, chimneys and so on.
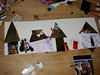
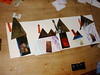

Then we cut around the skyline and we had a collection of cities.
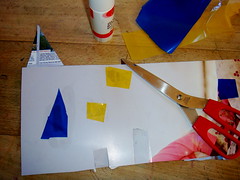
Project 3: Cut some openings for windows and doors and added some transparent paper behind them so the windows “glowed” when you peeped through them.
![]()
![]()
![]()
![]()
![]()
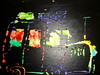
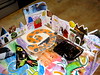
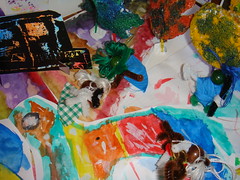
Now our city needed some animals:
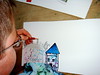
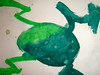
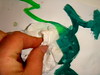
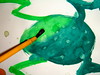
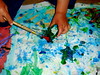
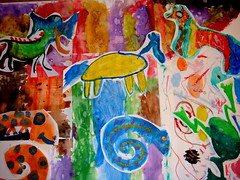
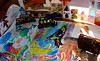
Project 4: So we did some spotty beasts using watercolors and lemon juice. This is a great little project and the lemon juice is really quite magical. Paint your beasts and leave them to dry.
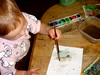
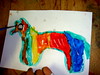

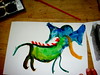

Once they are dry you drop drips of lemon juice onto them and leave them to stand for a little bit. Then dab them with some tissue paper and it lifts dots of paint pigment off the beast – a really surprising result.

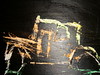
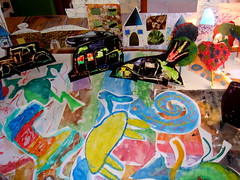
And our city needed some vehicles:
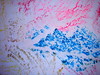
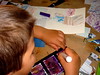
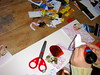
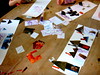
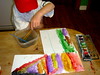
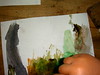
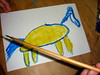
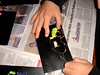
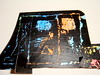
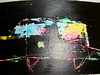
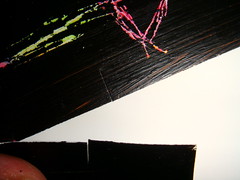
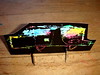
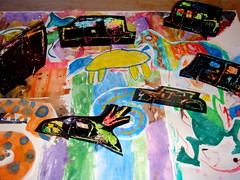
Project 5: We made some scratch resist patterns: Smother your card board in bright pastel colors.
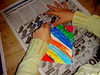
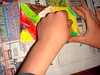
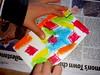
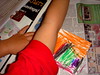
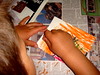
Then I quickly painted their patterns with black acrylic paint.
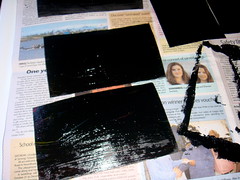
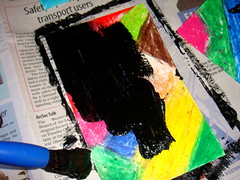
The following morning they were dry and ready to scratch. They were quite hard to scratch: we tried wooden skewer sticks and pins but it was quite frustrating. What really worked was the blade of a pair of kiddy scissors – obviously you need an adult to help here. Let me just say that they were all completely engaged and absorbed by this project – all of them – for ages…
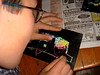
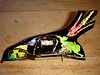
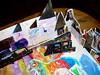
But they made the most delightful cars.
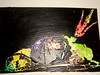
Then we cut the cars out and made little stands out of black card off-cuts. This worked really well because they could brrrrmmm around.
And here is the fleet.
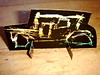
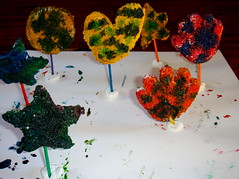
Project 6: Our city needed some trees… This project took much longer than I expected, we had to work on it a little bit at a time – over days. Our weather has been a bit damp and it took a while for the bread to dry out in between steps. Use cookie cutters to cut out shapes and leave them overnight to dry out on a rack.
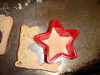
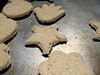
Once they are dry paint them with a mixture of white acrylic and cold glue. Paint one side , when it is completely dry then paint the other.
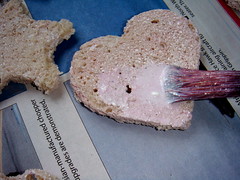
Once they were dry we used acrylic paints to paint them and decorate. They turned out beautifully bright.
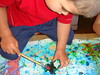
Popped them onto some colored toothpicks we have had lying around for ever and stuck them into a lump of prestic (or plasticine). And there are your trees.

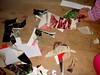
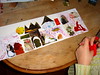
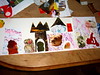
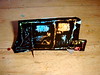
Project 7: Was just putting everything together… We got a large piece of cardboard and placed the animals on top of it.
Drove the cars between them.
Stuck the city scape together with tape and made a long strip, which we folded around the cardboard. This worked really well and they stood up easily once they were folded into a rectangle.
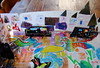
Popped in our trees.
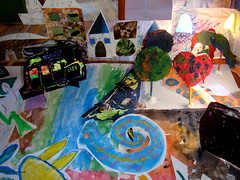

Last thing we tossed some pipe-cleaner people into the mix and there we are, we had made hours of playtime…
So there you are se7en projects all at once – it can be done, and it can be fun!!!
This is a great book I often get up in the morning to discover a couple of earlier risers have got stuck into a project on their own. The crafts in this book range from easy to hard, and lots of them don’t need adult help – a big plus, they can get on with it while I getting dinner ready!
All in all a great book – Se7en thumbs up! – but then it is an Usborne Book!!!
Hey! You do such fantastic projects with your kids! Don’t you want to come and teach at the Art Centre? What fun being a Hood! Love to all. Gabby
Hi there, I don’t actually want to teach at the Art Center – I am having far too much fun with my se7en, and the class is full – really! …