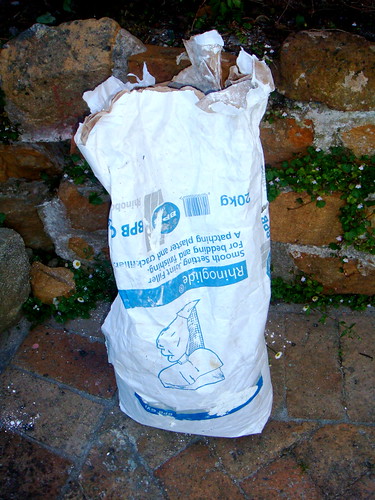
What on earth do you do if it is the end of the school year and your crafty supplies are drying up rapidly and the father person brings home a huge bag of builders kind of stuff? Some sort of smooth setting plaster painting kind of stuff.
Well this is plaster of paris in disguise…
Se7en things to do with plaster of paris:
- You can make extra gloopy paints.
- Or sidewalk chalks… just add water and food coloring and mix it as thin or thick as you would like it to be.
- You can make plaster cast footprints/handprints: push your hand into a large lump of clay, mix your plaster until it is as runny as a double thick milkshake, pour it into your mold and leave it to set.
- Similarly you can make your own fossils, just press sea-shells or plastic animals into playdough or clay to make your own molds and then fill them with plaster and wait for them to dry. Then decorate to your hearts content.
- You can pour some mix into a party cup and then poke a treasure into it, then cover the artifact completely with plaster of paris mixture and leave it to dry overnight. It sets like rock! No flimsy tools to unearth this one. You will need real hammers because it sets really hard. Great fun when you are studying archaeology.
- You can use it for natural collecting things… It is great for poking things into.
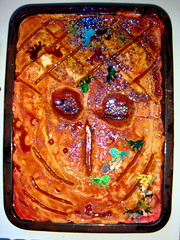
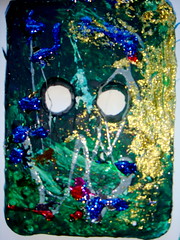
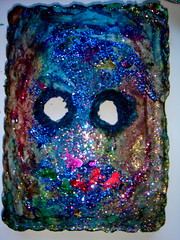
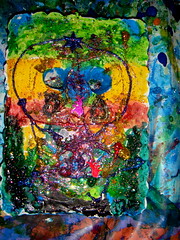
- And you can make Wonderful Venetian Carnival Masks!
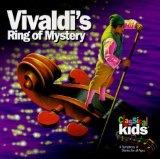
We were inspired by the story of Vivaldi’s Ring of Mystery:
We love this story and can listen to it again and again and again. It is the story of Katerina who is sent to live in an orphanage in Venice, where Vivladi is the music director. And she has a mysterious past that resurfaces during Carnival Time. It is sad and sweet and has a happy ending! And all the while Vivaldi’s beautiful music is playing in the background. We did a quick google search for Venetian Carnival Masks to inspire us, then off we went.
Let’s meet the players:
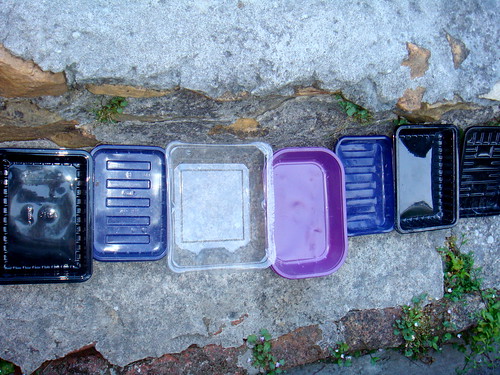
- A vegetable tray per mask;
- Some plaster of paris;
- Some paints, we used acrylics;
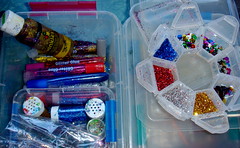
- And plenty of glitter
Let’s Play the Game:
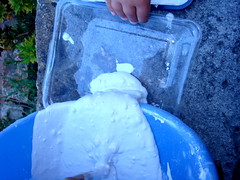
Step 2: Mix your plaster of paris. Use an old bucket and an old stick and work outdoors – it can get really, really messy! Do not wash your left over plaster down the drain – it could set there! Firstly place the plaster powder in the bucket. Add enough water to make it mix into a double thick milkshake consistency… a bit more water or a bit less, its not too serious.
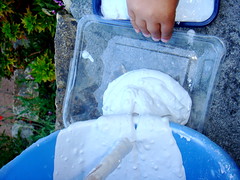
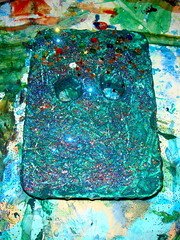
Step 3: Then carefully pour the mixture into your vegetable trays.
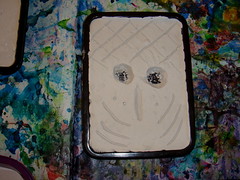
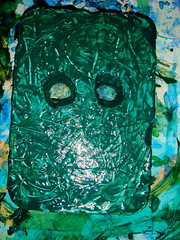
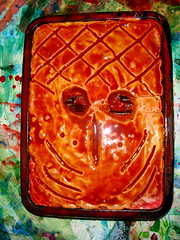
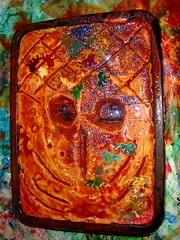
And leave them to set hard, we left them overnight, before they were completely dry I used a knife to carve out eyes for everyone.
Also, before it is completely dry you can easily scrape patterns in them. Once they are dry they are quite easy to carve using knives or screwdrivers (I lost interest in the carving at this stage as I imagined short people with weapons of destruction – for older kids go ahead, they love carving and this is a very nice forgiving texture to work with).
Step 4: Carefully tip your masks out of the vegetable trays and then you have a place to put your paints!
I left the shortest person’s mask in their tray in case of disaster striking.
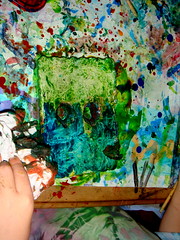
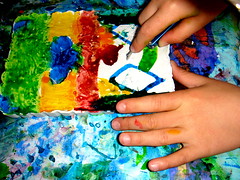
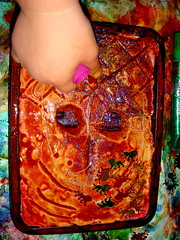
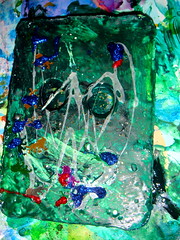
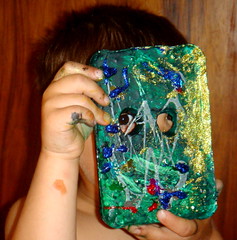
Step 5: The rest of us joined the painting party…
And if you dab it with tissue paper you can start over!
And you can do some carving into the project at any stage.
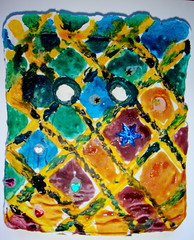
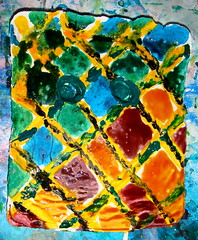
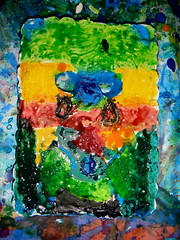
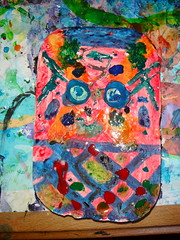
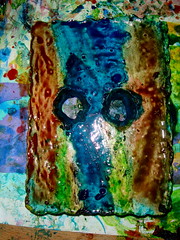
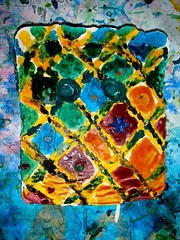
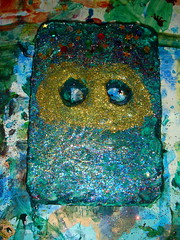
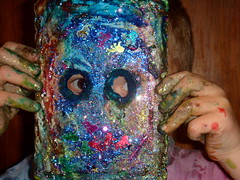
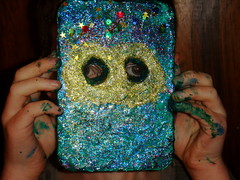
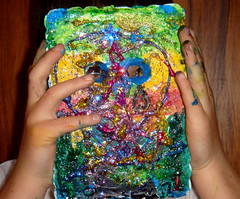
And here are the painted products:
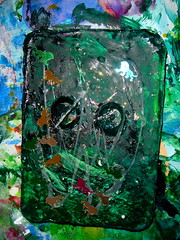
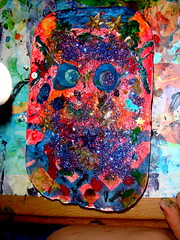
Step 6: I brought out the Big Guns: glitter!
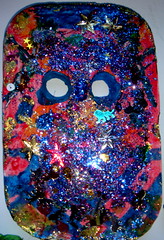
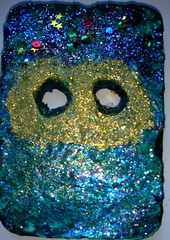
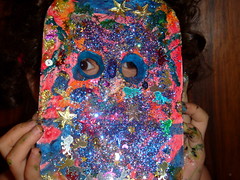
And we went madly glittering – where would a Venetian Carnival Mask be if it wasn’t dripping with gold!
And just a bit more glitter!
Step 7: And we were done.
I have to say these are not rugged, and while they are masks I purposely left out the stick poked in the bottom or the elastics in the sides – you can easily put these in while the plaster is still gooey and they will dry stiff. But I wanted them to be more like ornaments than running around with. So they turned out perfectly!
Have Fun… and if you can think of anything else to do with the remaining 80% of the bag of plaster – then do let me know – I would love to know – really!








I have no idea if this would work, but I’m thinking snakes! Perhaps if you mixed a slightly thicker consistency so that it could be poured out into a long tube shape onto a piece of Glad Wrap, wrapped up and then shaped into a slither or coil or whatever and left to dry. They would also be good for scratching patterns and painting designs onto. I have never done this, it’s just off the top of my head so if you are brave and actually try it please put it in a post!!!
I was thinking alphabet letters, so we are on similar tracks! Snakes sound like fun!!! It is quite brittle, but worth a try – we really do have heaps of the stuff!