
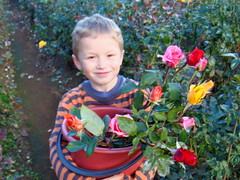
What do you do when you have Se7en mini-pinata’s that have been lying on your kitchen counter since we made them as Easter Crafts and a bunch of roses on the turn a week after you have been to Chart Farm, not to mention some left over wall-paper glue that has been lurking in the fridge forever?

Well you make a bird house filled with wonderfully smelling potpourri and a friendly little bird to live in it.
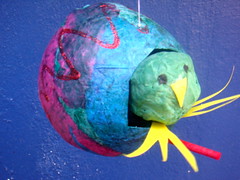
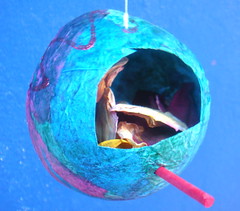
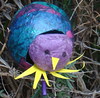
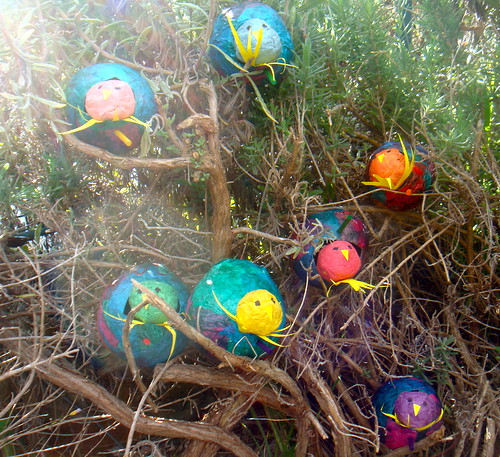
Step 1: Pinata Bird Houses
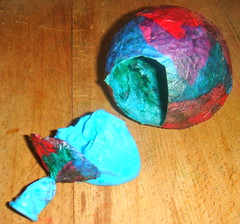
Our mini-pinata’s were made using tissue paper and wall-paper paste glued in layers onto a small balloon. If you would like to know exactly how to make them then follow the link to the our pinata post.
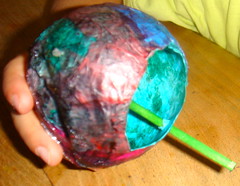
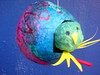
We took our mini-pinata’s and cut a small entrance hole for our bird and also removed the balloon.
Step 2: Then we gently popped a craft stick through the paper to make a “branch” for our bird to stand on…

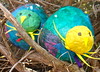
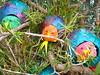
And now we have Se7en potential bird houses waiting for feathered friends.

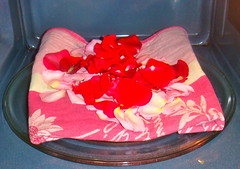
Step 3: Rose Petals to Potpourri We had a bunch of rose petals and we needed to dry them out – and here is a quick trick. Pop them onto a paper roller towel or a dish towel to absorb any moisture. We put them in the microwave for thirty seconds… then leave them to cool… then repeat until your petals are crispy. You need to cool them in between or they just turn brown and nasty… When they are left to cool between the zaps then the moisture goes into the cloth and somehow you get a better result. The petals should still look bright and pretty and smell nice if you go slow and steady!
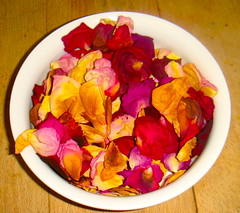
Step 4: And we filled our bird houses with potpourri for a pretty smelly comfy nest for our birds.
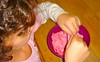
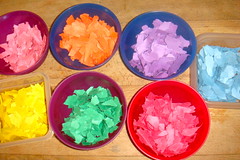
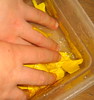
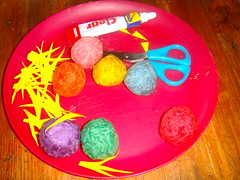
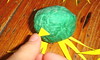
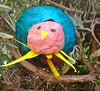
Step 5: Bright Little Birds We used brightly colored construction paper and wall-paper paste.

We started with the construction paper and tore it into little tiny bits.

Everyone chose their own color.
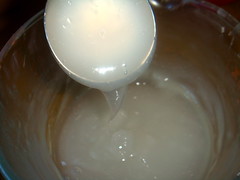
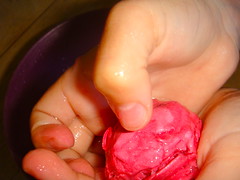
Step 6: Then we added a spoonful of glue to each color of paper and smooshed and mooshed, we crushed and mushed.
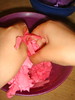
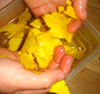
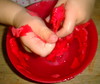
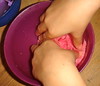
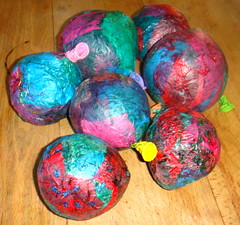
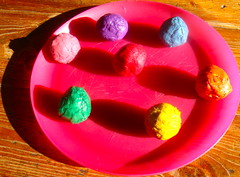
The longer you smoosh it the more malleable it becomes and it eventually become like play dough and we rolled it into little paper-mache balls.
We left them to dry in the sun for a couple of days. We could have done more, the colors don’t mix and you can get some lovely bright distinctly colorful balls with different paper patterns on them. But everyone wanted their own color bird!
Step 7: Then we snipped and clipped.
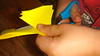
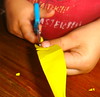
And we were ready to add the all important feet add beaks.
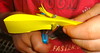
We lined up the feet.
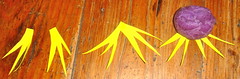
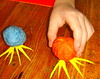
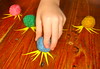
Don’t forget those little beaks.
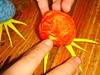
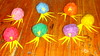
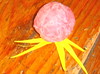
Add some eyes with a marker.
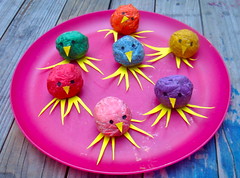
And our birdhouses were good to go: We filled them up with little friends.
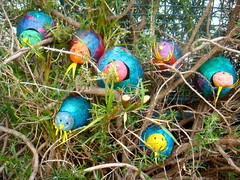
These would make a great mobile for hood #8 or since they smell so pretty they will be a great gift to hang above a bed for a granny who will be in hospital next week and bed for a while afterwards.
That’s it – have fun!
These are soooo amazing! What fun vibrant colors and super neat designs… love em!
Hi there K-M, These were really fun to make and I can see we will be doing a lot more with paper-mache pulp! I am so glad you liked them and thanks for stopping by and commenting! Hope you guys have a great weekend together…
I am absolutely amazed with how detailed your craft projects are. This is beautiful, and looks like it was a lot of fun for you and the kiddos.
Hi S, This project took a while… waiting time!!! All the steps were easy enough, just patience!!! Have a nice day!!!