
This was our inspiration:
Hood #3 has been working on her own private garden spot on top of the tumble dryer for the last couple of weeks (I knew we had a reason for owning a tumble dryer). But when she added dinosaurs to her garden and when after a week of reading about dinosaurs for school the only dinosaur she could name was a “Tri-hairy-cops” I knew it was time to do something more…
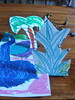
So this is what we are aiming for:
Meet the Players:
- Good crayons and card
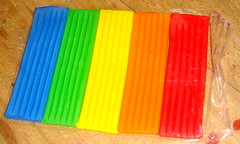
- Modeling clay
- A box – big or small the world is your oyster
- We had a few houseplants (!)
- Anything else you think will add to the atmosphere
- Colored plastic (cellophane) to put over the top as a finishing touch.
And Play the Game: Here we go in se7en steps:
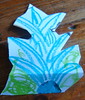
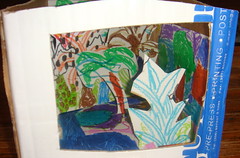
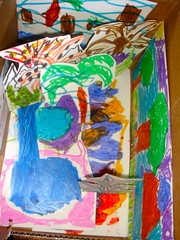
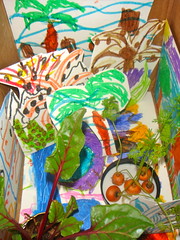
Step 1: We drew some wild backgrounds on cardboard.
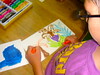
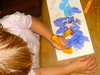
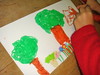
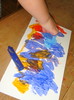
Well some were wilder than others:


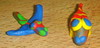
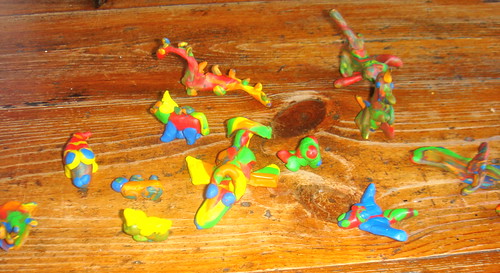
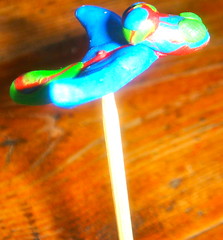
Step 2: We needed some dinosaurs so we grabbed a packet of modeling clay – any old sort will do. In fact when we ran out of modeling clay we moved on to play-do that I know will dry hard in a couple of days. We made teeny tiny dinosaurs. Note to the mother person to get more modeling clay and one packet is not really enough for our whole crew!
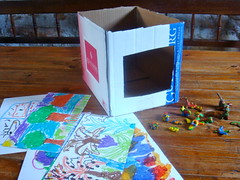
Step 3: Cut a window in your box… and stop to plot and plan: We had back drops and dinosaurs… but we still needed to our vegetation.
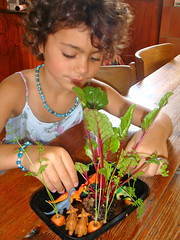
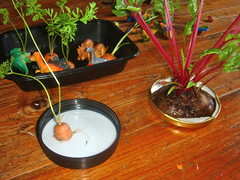
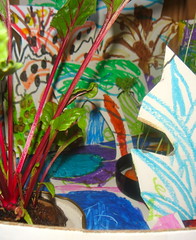
Step 4: Organize your vegi-top garden. These are so easy to make just take your vegi-tops and cut them off straight, place them in a thin layer of water and watch them grow… We divided them up onto a couple of jar lids.
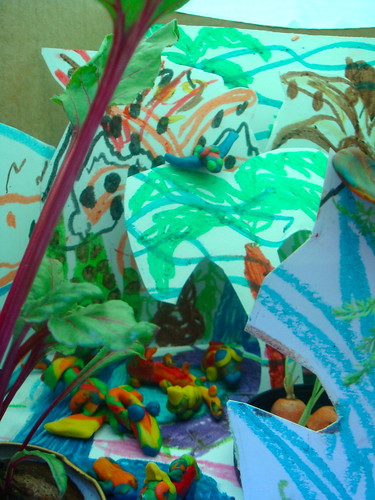
Step 5: We snipped and trimmed our back drops and cut a few trees to pop up in the center. Then they all went into the box.
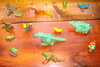
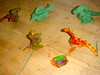
Step 6: We put the foliage into the box and then added a few little dinosaurs…
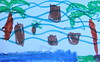
The pterodactyls we added on skewer sticks that we just lent against the trees.
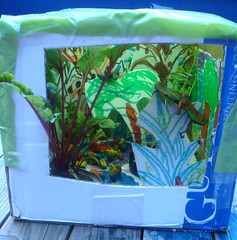
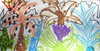
Step 7: We taped some colored plastic (cellophane) over the top for great effect!
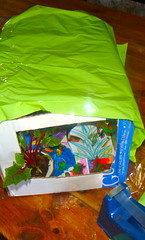
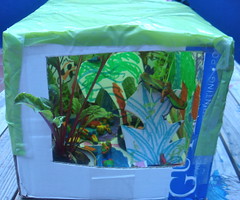
And you are done!!!
Take a peek:
This project can obviously be extended to any type of beastly environments… it is just a matter of having a box handy… never a problem in our house! We once did brilliant ones in party boxes for an undersea party: scroll down the link till you find it.
If you are looking foe more dinosaur crafts then look no further than the Crafty Crow, which recently had a great dinosaur round-up.
That’s it – Have Fun!
Loved this craft! What a fab end result. will tuck this little gem away in my planning book for when we do dinosours!
Hi S, Glad you liked it, it was a lot of fun and I think it will be gracing our tumble dryer for a couple of weeks. Have a great weekend!