
This is another one of those Life Skills every mother should know along with Play Do and Pipe Cleaner People. This recipe makes lovely smooth, shiny paint… great for smooshing between fingers or painting with fat brushes.

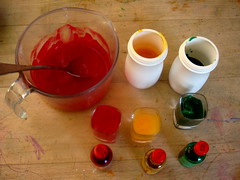
Meet the Players:
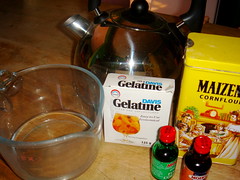
- 1/2 a cup of cornflour
- 1 cup of cold water
- 2 tbs plain gelatine
- 2 cups of boiling water
- food coloring or poster paint
Let’s Play the Game:
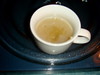
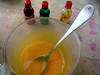
Step 1: Put 1/4 of your cold water into a cup and pour the gelatine on top of it.
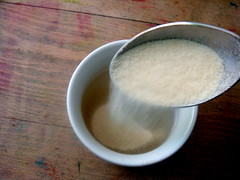
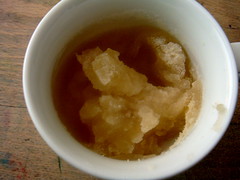
Leave it to stand. It is meant to look sort of lumpy and unusable.
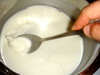
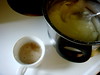
Step 2: Use your remaining cold water and make a paste with the cornflour in a pot.
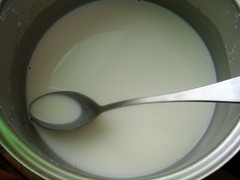
Step 3: Add your 2 cups of boiling water and stirring all the time heat on medium heat until it boils. You have to stir it all the time to avoid lumpy paint.
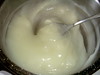
As soon as the mixture boils take it off the heat.
Step 4: Warm your gelatine until it melts. Use a double boiler or a microwave – watch it…trust me on this, it is very sticky if it boils over! But isn’t too hard to clean up – just use lots of cold water!!!

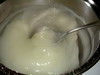
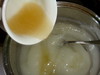
Step 5: Pour the gelatine into your hot cornflour and water mixture. Stir it through.

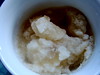
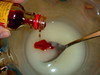
Step 6: Separate into small containers and add food coloring or poster paints. Cool it and use it.
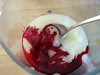
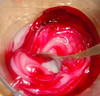
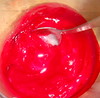
Step 7: You are done. Store it in the fridge… I have no idea for how long, it never lasts more than a day or two here!!!
Hi, me again! I tried the biscuits but in the end we had to make something else because they weren’t working out too well. The dough was very crumbly even though I added more butter and therefore the biscuits were hard to manage with a hole in the middle. My husband quite liked them though and suggested that we don’t make a hole but just pop the sweet on top which I did and it does also have quite a nice effect. Anyway, we abandoned ship on that one as it was getting too frustrating and time was ticking!! We made really easy chocolate squares with marie biscuits and icing sugar etc. We’ll be experimenting with the others though as they were a hit with Dad:-)
About the finger paint, the way I make it for school is just with cornflour, water and paint. Mix a paste with cold water and cornflour, boil the kettle and just as it starts to boil pour slowly stirring constantly and consistently until it thickens. If you’ve never done it this way before, give it a try because it’s much less of a task than gelatine and double boilers etc. It gives a really nice consistency which while still warm is wonderful to manipulate. You can use old x-rays sheets to work on and then print your picture or pattern or whatever. Also nice for mixing colours, make up 3 lots – red, yellow, blue and experiment with making secondary and tertiary colours on the x-ray sheets.
(sorry, that was a long comment!)
Thanks for the long comment – any comment is a good comment in the life of a blogger!!! Sorry about your cookies… Baking and deadlines always tends to be hazardous. Your paint sounds great and I love the old x-ray idea.