
In the Week That Was – 24 I mentioned that we had received Up and Down the Andes, from The Picnic Basket…
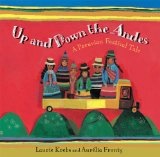
This is a brilliant book packed with facts, beautiful artwork and a fantastically smooth rhythmic poem winding you through the Andes… Just wrapping your tongue around the strange and mysterious place names on each page: Lima, Lake Titicaca, Machu Picchu, Arequippa, Puno and finally Cusco was enough to inspire us to a project… and we went looking for Alpaca Hats.
So here are our crafted Alpaca Hats… in Se7en Steps.
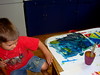
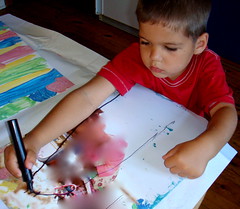
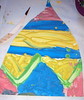
Step 1:We started off with mixing paints. I wanted really, really thick paints to get the sort of textured feel of a thick wooly cap… So to get the paints really thick I added washing (laundry) powder to our usual acrylic paints. Here’s how: Add a heap of washing powder to each color in a cup and stir it to a paste, then leave it to stand a couple of minutes and it becomes really thick and pasty – not to mention this art project smells wonderfully clean! Paint away…
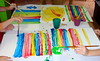
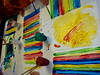
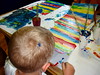
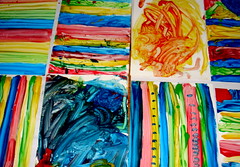
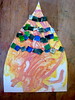
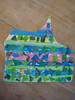
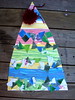
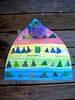
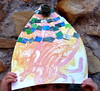
Step 2: We painted horizontal stripes to match the way that a knitter would knit the hat. And I use we loosely here… because certain individuals will not be constrained to things as ordinary as stripes… but I think you will get the general idea. You should end up with a whole heap stripy cardboard.
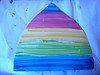
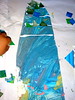
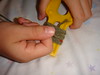
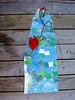
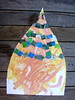
Step 3:Once your paint is absolutely dry then draw your hat shape on the back with a big black marker (oh,the heady power!) and snip out your hat shape.
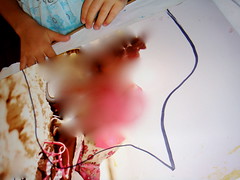
And here are a couple of hat shapes.
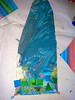

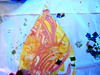
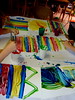
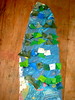
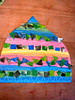
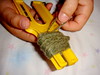
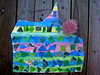
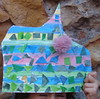
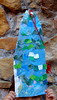
Step 4: Then in order to get a still more textured feel they needed a bit of collage. I chopped up some papers, from a previous project, into tiny squares and triangles and suggested we make some more patterns. So armed with cold glue we made some stripy patterns.

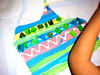
And here we are… A couple of stripy patterned hats…

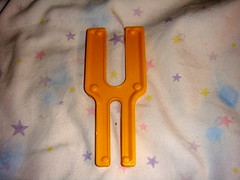
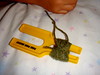
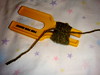
Step 5: Now what Alpaca hat would be complete without a pom-pom on top… and so Hood #2 very graciously produced se7en pompoms and here’s how: Firstly he has a handy pom-pom gadget:
And off he goes…
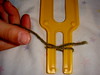
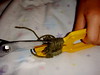

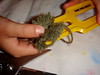

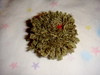
When I was a kid we made millions of these using cardboard donuts. But now I have learnt how to make them using just fingers as well.
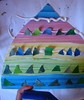
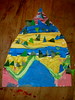
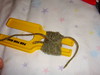
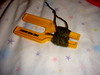
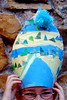
Step 6: I used a paper punch and punched a hole in the top of each hat and we tied a pompom to each of the hats…

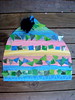
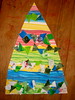
Step 7: And here we are a heap of hats…


And if you wanted to do this project paint free you could just as easily weave the hats… And for more zooty pompoms just add different colors to the wool you are wrapping round and hay presto you will have multi-colored pompoms.
That’s it – Have Fun…
11 Replies to “Alpaca Hats in Se7en Steps…”