
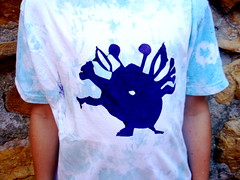
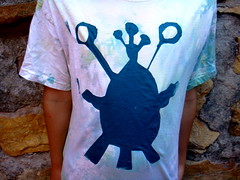
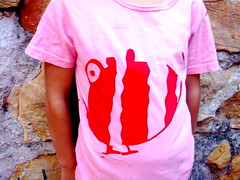
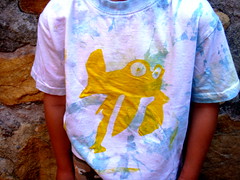
Summer wouldn’t be summer without making a bright fresh new t-shirt and we haven’t done a fabric project for ages. So this is all about bright and funky t-shirts that turned out so well that I think I should make a couple to give as gifts to short friends.
Our inspiration and book of the week was:

This is a brilliant story, written in rhyme… about a group of Martian explorers that travel through the Universe in search of alien life – they finally do find some friends at the South Pole on Planet Earth very cute, very funny – I have read this book, only about a bazillion times and I will happily read it some more.
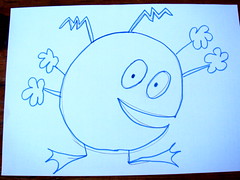
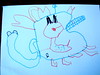
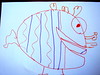
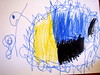
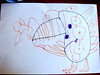
Anyway because of the book a number of aliens have been visiting our home:


Let’s Meet the Players:
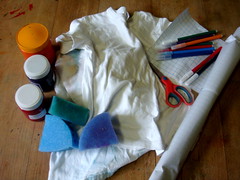
- old t-shirts – or new depending on how brave you are
- markers
- plastic contact paper
- scissors
- sponges
- fabric paints
Let’s Play the Game:
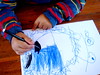
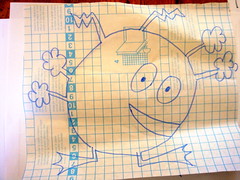
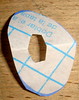
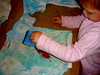
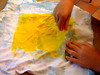
Step 1: We traced our aliens onto the back of contact paper with ordinary markers. This is really easy since the back of the paper is regular paper.
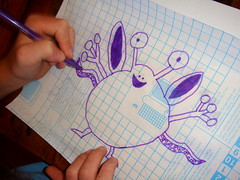
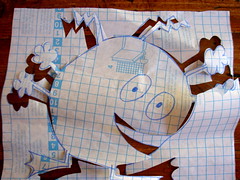
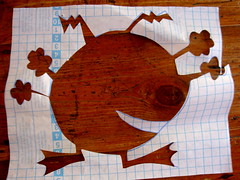
Step 2: Then we snipped out the aliens to form a template out of the contact paper.
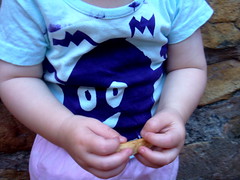
Here’s how you do googley eyes and pop them into an open space on your t-shirt.

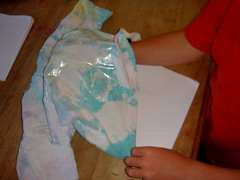
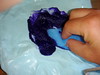
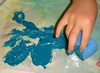
Step 3: We stuck our peeled contact paper onto the pre-washed shirts (gotta pre-wash your shirts or the paints will wash off later). This was the hardest part and almost all The Hoods battled to stick their contact image onto the fabric. They didn’t have enough fingers and hands! I helped out here and on we went with the project.

Get ready to paint by placing card between the t-shirt layers and to stop the front and back of the shirt from sticking together.
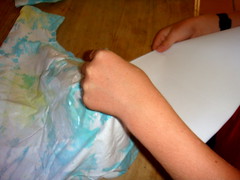
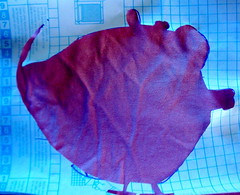
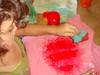
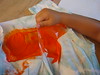
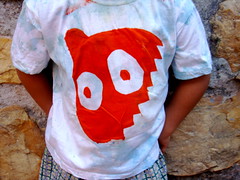
Step 4: We used sponges to smear, splodge and stamp the paint onto the t-shirt.
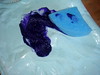

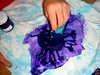
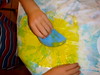
Step 5: You should have a really messy looking blot of paint on your shirt. Leave them out to dry in the sun.
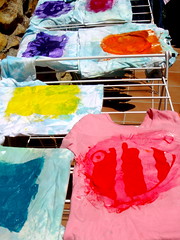
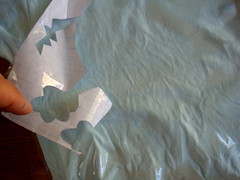
Step 6: Once the paints are dry peel the contact plastic off the shirts.


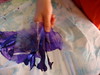
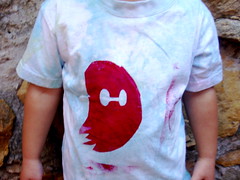
From your blot an amazingly defined alien will miraculously appear – it was lurking there all along!
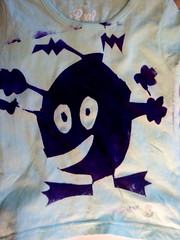
Step 7: Finally you need to iron the t-shirts to fix the paints onto the fabric. I usually put a tea-towl between the fabric paint and the iron to protect the iron from the paint. Iron away with a warm iron. All you need then is to wash and wear them.
And you are done!
Fabulous work guys! I had heard of freezer paper stencils, but not with contact paper. Freezer paper we can’t get, contact paper we can, so we’ll definitely try this out.
Hay glad you liked them. We don’t have freezer paper either… Sticking the contact onto the t-shirt was too tricky for kids because it goes every which way – but once I did that for them it was a really easy project, with a great result!
My goodness! Those are beautiful! I think your Hoods may have a future in funky t shirt design.
I love reading your blog.
Glad you liked them – they were a lot of fun to make!
Greetings se7en.org.za
We supply Contact Clear into the retail market, as I was pleasantly surprised to see you promoting our product on your web site.
Many thanks for your assistance, and all the best for a great web site!
Yours sincerely
Gordon Rechner
Owner Gordon’s Productions
Hi there gordons.co.za, Thank you so much for visiting, what a nice surprise! Only a pleasure to promote your product! Thanks for your kind comment. Take care.