
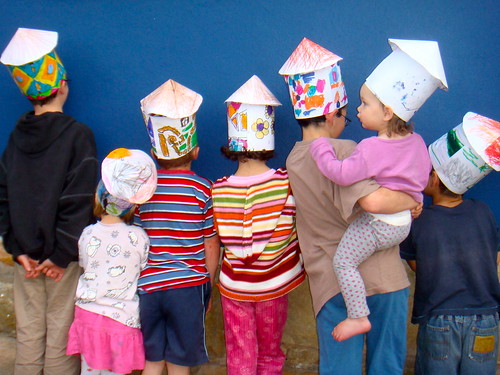
The Hoods have a thing about hats – the evidence is clear:
This week we made Ndebele huts to hats:
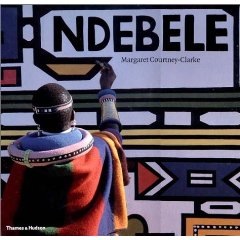
And we haven’t made anything hattish for a long time. Meanwhile we have been reading about the Ndebele people and looking at photographs of Ndebele Art:
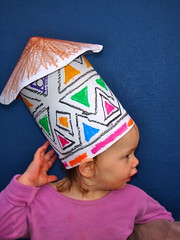
So we decided to make some Ndebele huts into hats. This is what we were aiming for:
Let’s Meet the Players:
- A strip of paper long enough to reach around their heads, plus a bit extra.
- Another piece of paper big enough to make a large circle for the roof.
- Some black markers or crayons for geometric shapes.
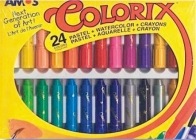
- Bright colors: watercolors, pastels, markers or crayons.
- Staples and a stapler – or tape.
- Masking tape.
Let’s Play the Game:
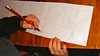
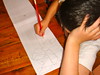
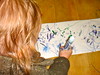
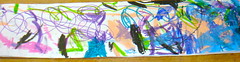
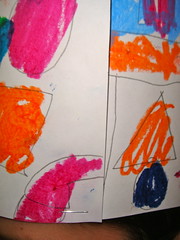
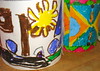
Step 1: We started by drawing geometric shapes and patterns on a long rectangle of paper – long enough to wrap around their heads with a bit of extra.

![]()
![]()
![]()
![]()
![]()
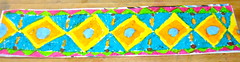
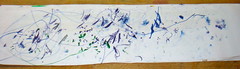
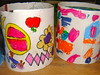
Step 2: Then we added bright colors, you can use pastels, markers or watercolors. We used colorix crayons:
![]()
![]()
![]()

![]()
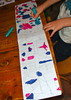
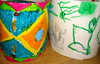
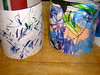
Step 3: And we had se7en colorful strips:


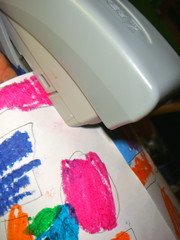
Step 4:Then we wrapped the strips around their heads and stapled them. Don’t guess the size – every head is different!!!
And we had se7en tubes:
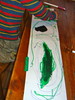
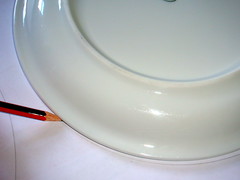
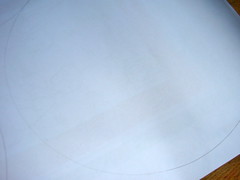
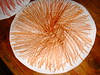
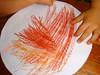
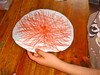
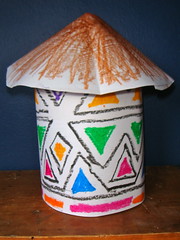
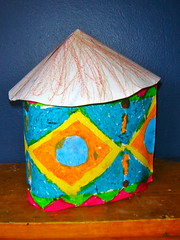
Step 5: We used a big plate and made circles for each hut to have a roof.
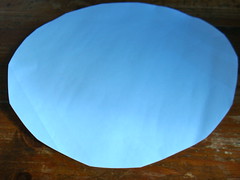
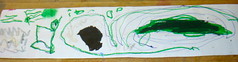
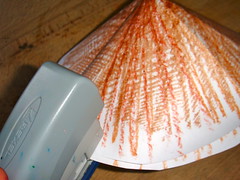
Step 6: Followed up with a wild (brown) crayon frenzy to make the reed roofs.

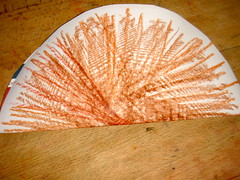
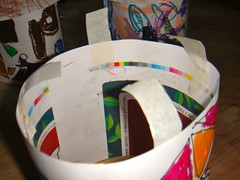
Step 7: Then we found the center of each roof, cut a slit towards the center and staple a cone that fits on top of the cylinder. Tape the roof to the base.
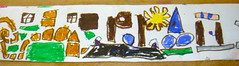
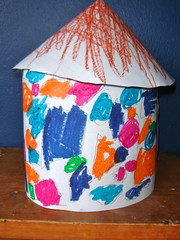
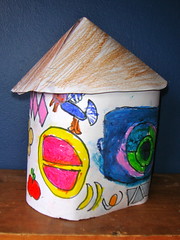
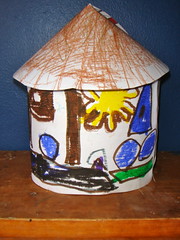
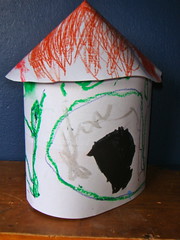
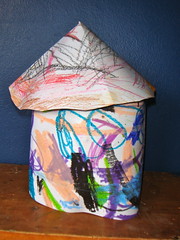
And you are done. Here are the huts:

That’s it! Have Fun!
hats off to a brilliant mom!
Thanks F, Have a good day yourself!!!