Earlier this week we posted a photograph of our lunchtime pita breads on instagram and quite a few friends asked for the recipe… so hear it is.
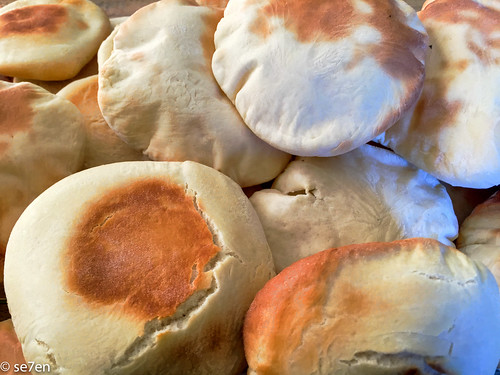
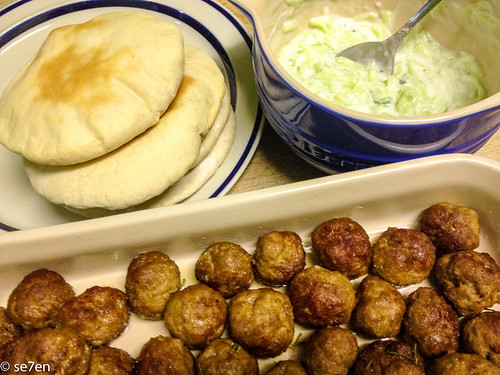
Pita breads make such a fabulous feast, you can dress them up or dress them down… meatballs and tzatiki, avocado and sliced peppers, pineapples and greated cheese and almost any salad goodness. These are a definite family favourite and like wraps they are ridiculously over priced in the supermarket, especially when you discover how easy they are to make.
Let’s Meet the Players
- A packet of yeast
- 1 tablespoon of sugar
- 1/2 a cup of warm water
- 500g of cake flour + quite a bit more for the table
- a pinch of salt
- 1 cup of warm water… (yes, you need warm water at both stages of this recipe)
- oil to grease the bowl
Let’s Play the Game
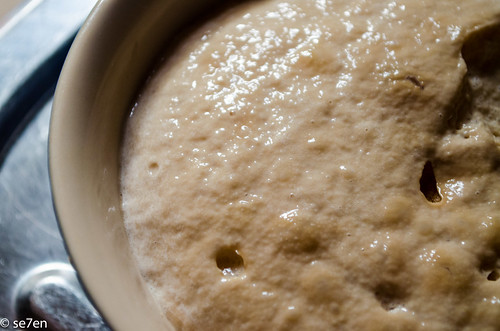
- Pop the yeast, sugar and 1/2 a cup of warm water into a bowl and leave them to bubble, while you get the other ingredients measured and ready.
- In a large bowl measure your cake flour and salt together and make a well in the centre. After about ten minutes of standing time your yeast mixture should be nice and bubbly.
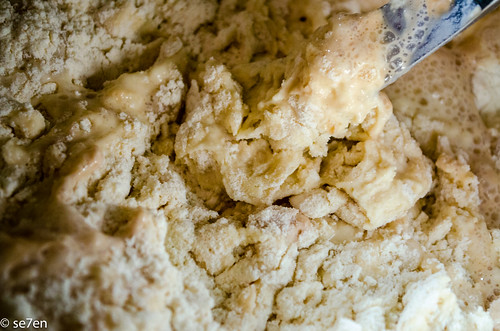
- Pop the yeast mixture, and your extra cup of warm water, into the bowl and then mix it together… it is a softer and stickier dough than most bread doughs.
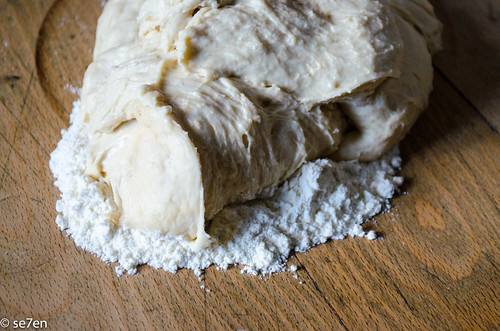
- Place extra flour on a table and knead the dough for about ten minutes.
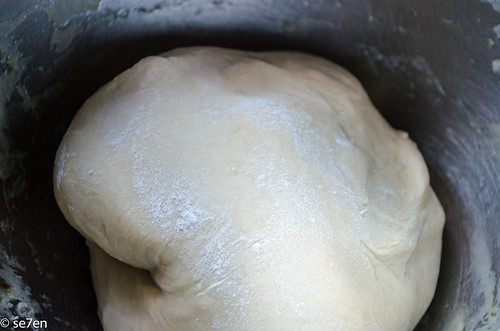
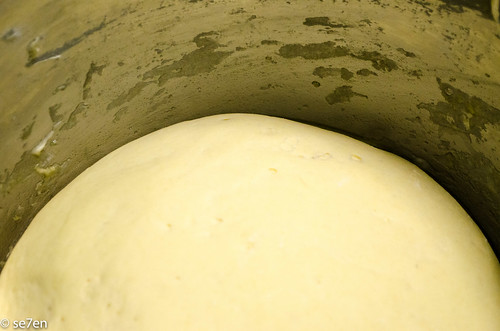
- Once the dough is kneaded then leave it to rise in a warm spot, in a covered, greased bowl, until it has doubled in size. While your dough is rising it is a good time to get all your fillings chopped and sorted.
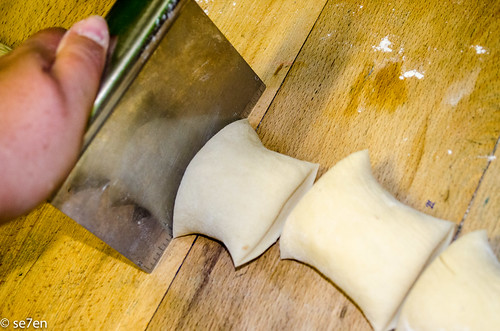
- Gently roll the dough into a long worm… then cut the roll in half and then in half again, and so on, until you have enough pitas to share… we usually make about 16 small pitas per batch.
- Keeping your surface nicely floured, roll each piece of dough into a ball and leave them to rise for a few minutes. At this stage heat the oven to 200 degrees Celsius.
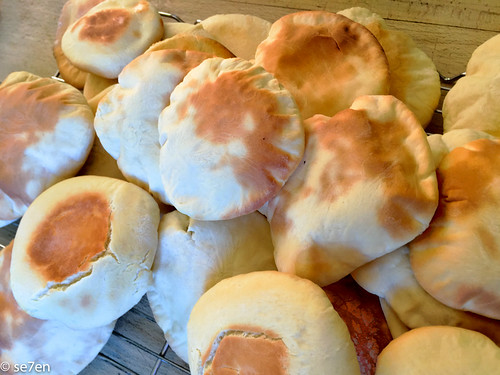
- When they are springy to the touch roll them out thinly, bake them on a tray until they are golden brown and puff up.
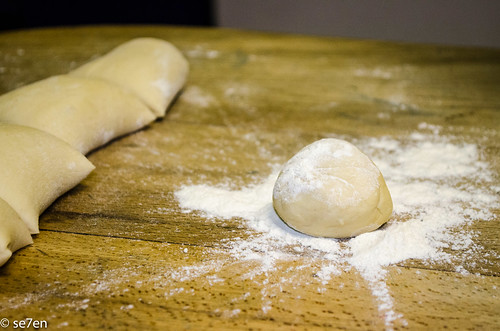
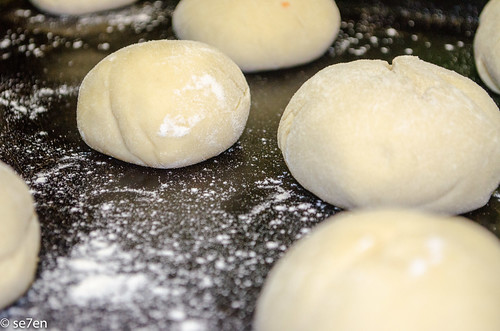
And the se7en + 1th step…
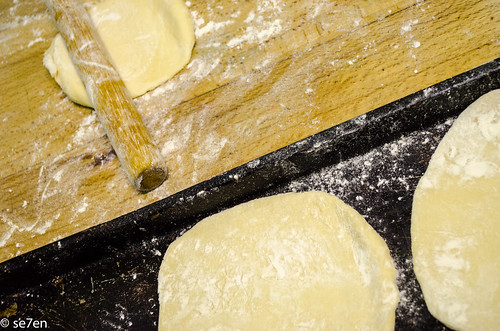

They are ready to feast on… and once you have mastered pita breads you won’t ever go back to buying them.


That does look easy! Then again, you make everything look easy 🙂
I’m always nervous when I see perfect round dough because mine is definitely not instagrammable, blog-worthy or photo-worthy 🙂
I will try in a couple of weeks!
We’ve never attempted pita – we will have to add this to our breads list for next week!
This looks awesome and I will be trying soon. Thanks again for sharing.
I’ll be putting my 14 year old to work this weekend. Looks yummy!
Marcia, these are really easy, you can make them. I always think mine won’t pop open and then they do at the last minute. I really think that you all will enjoy these!!! Hope you are having a fun weekend!!!
Hay Christi, try it, they are fun… it is always like a little surprise when they pop up!!! Hope you are having a fun weekend!!!
THank you Susan, they have quickly become a family favorite over here!!! Have a great weekend!!!
Oh that’s great Carolyn, Hope you have a fun time!!!
I will try these soon. Hope mine puff up 😉
All the best Nita, Let us know how they turn out!!!
I’m finally going to try them tomorrow!! Thanks!
Steph
Oh Brilliant, Stephanie… Hoping they are a huge success and that your guys love them as much as our guys do. Wishing you all have a great weekend!!!
Thank you for the recipe. We tried it and they aksed for more. They are definitelly going to be on our summer picknicks. Have you tried to do them on a grill outside?
Hay Vida, That’s fabulous, so glad you enjoyed them!!! We haven’t tried them outdoors… great idea though. Hope you have a fun weekend!!!