
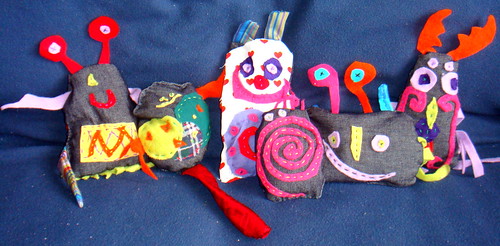
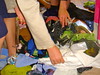
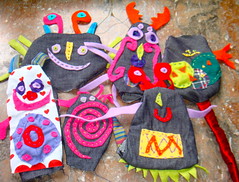
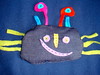
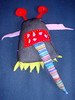
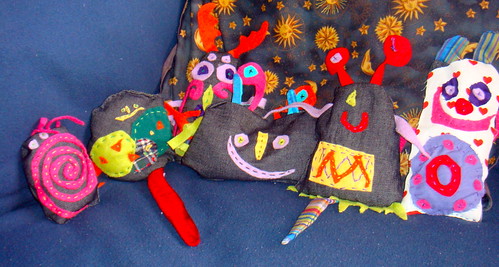
In last weeks “Week That Was… Post” Hood #6 promised a sheekwit (secret) craft that we had been working on. These are bean bags that you can warm in the microwave on a very cold night and take to bed for a snuggle or pop in your pockets on a freezing day. They can also just be bean bags for wild and frantic play. This is what you are aiming for:
This project needed quite a bit of help for the tiny people, but was well worth the effort. Definitely a one on one project, for my beginner sewers but then the art of sewing does require plenty of one-on-one time!
Let’s Meet The Players:
- Fabric scraps – we used denim, felt and cotton scraps.
- Embroidery thread.
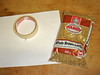
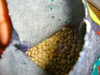
- We used lentils, some people use barley but the smell can be a bit barley-ish.
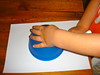
- A piece of paper and masking tape to make a cone in step 6.
Let’s Play The Game:
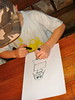
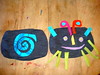
Step 1: The draw and design phase.


Step 2: Then we had a fabric frenzy and a dive through the fabric scrap box.
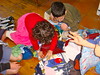
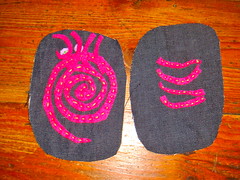
Step 3: Then it was time to sit down and snip and plot and plan and match up fabric to the drawings.

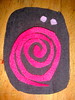


Step 4: Followed by lots and lots of stitching and needle threading and knots. Not to mention gnashing of teeth, followed by boundless joy at sewing success!!!


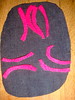
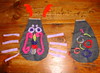
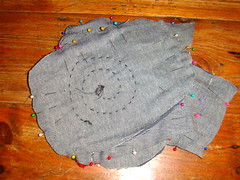
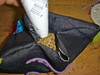
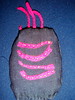
Step 5: A special note for appendages, like hair and claws and little tiny limbs. Pin them pointing inwards where you want them to eventually point outwards. (When you turn them the right way round after stitching they will stick out as you wanted them to.)
Pin your fronts and backs together with the outside pointing inwards. We had a pile of pinned bugs waiting for the mother person to stitch round them with the sewing machine. I wanted this part to be stitched thoroughly I don’t need any strange explosions in bed in the dead of night.
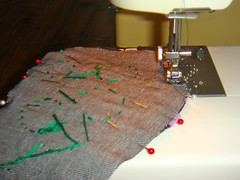
And get stitching. If I used my sewing machine a bit more often – it used to be an extra limb before I had children, then I would remember how to sew straight instead of zig-zag!!!
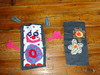
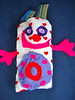
Step 6: Here they are stitched away and turned right way round, with a gap left open for filling them and turned them right way round.
Now there is a little trick to filling bean bags, that I learnt from the father person years ago. It prevents major spillage!
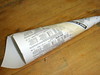
- Roll a sheet of paper into a cone.
- Pop the cone into your bean bag.
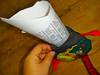
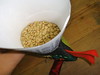
- Fill the cone with beans or in this case lentils.
- Pull the cone out of the bean bag.
- And the beans stay in the bag, no spillage and the job is done.
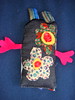
Pin your bags closed across the gap.
Step 7: Once they were filled sufficiently we stitched them shut.
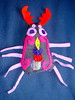
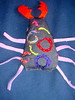

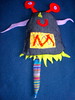
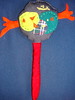
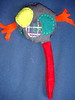
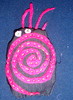
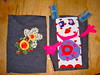
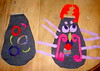
And we were done… Here are our bugs warmed up and ready for bed.
To warm them up pop them in the microwave for about a minute, then give them a shake around… Pop them back for another minute and shake again. Pop them into bed on a cold night or into a pocket on a cold day.
I did plan to use buttons and sequens and so on but it occurred to me that they might be metal and not very good for microwaves, and plastic ones would create hot spots that could burn so we stuck to just fabric and felt.
I really really enjoyed reading your post. Those fabric scraps came in VERY handy, didn’t they?
And to crown in all those bugs are just the cutest things I have ever seen. Could you make me one too? Pretty please?
Irene
Hi I, Thanks for the scrap heap – we have had such fun!!! You are not the first person to want a bed bug!!! Perhaps we should open an Etsy Store!!! Take care and see you on Sunday!
What a great idea! So much easier to pop them in the microwave than to make hot water bottles!
Hi J, Frankly these have saved my life… everyone loves them, day and night! Frankly if we do nothing else on our blog ever then we have a achieved our goal – shared a merry idea with a huge gift appeal. Not to mention not having to boil the kettle and have potential water bombs in your bed!!! You guys have a great weekend!
i love these… cute and functional— just perfect!!! I just wish there was a no sew version. 🙂 Maybe one day I’ll learn.
AND I was delighted to see you on Keeri… one of my fav webpages. CONGRATS!!!!!!!!
Hi K-M… Don’t I love a useful craft! I am sure you could find a way to do absolutely minimal sewing… I sew so seldom that I don’t remember how to use the machine from event to event!!! I really only discovered Keeri when they stopped by us – isn’t it divine… It really is like discovering a whole new treat everyday!!! I hope you guys have a great week together!!!
not only cute, but these cost a fortune in the Stores!
Hi Aunty Muffin – Who would have known… We could make our fortune yet!!! Hope you all have a fabulous week!
I love this! I featured it on my site today! Come grab my NEW button – it’s so pretty! 🙂 Hope you have a blessed day!
Amanda
todaystoptwenty.blogspot.com
Thanks Amanda!!! Love the shout out!!! Have a lovely day yourself!!!
These are super cool! Love the individualized look each one has! Just featured this!
I made these (in a far more boring way) with rice. It holds the heat well. …just in case you don’t have any beans handy….
Hay Elizabeth – How cute is that!!! Love it!!! Have a fun weekend!!!
Hi Amanda, I never thought of rice!!! Maybe because my kids love it and a bag of rice never lasts long enough to even reach the container!!! Thanks so much for stopping by!!! Have a great weekend!!!